Register Online
Let's start by creating an account. You must have an account with Zinon in order to use the software.
To create an account, complete the registration form on our website.

Download the Software
Once you complete registration, you will be automatically redirected to the download page.

Install the Software
After the download completes, run the installer. It will install Zinon Software on your device — it usually takes less than a minute.


Using the Software
4.1 — Run the Software
Double-click the Zinon icon on your desktop to launch the application.
4.2 — Log in to your account
Log in using the email and password you set during registration (Step 1).
For the device name, enter any text that identifies your workstation.

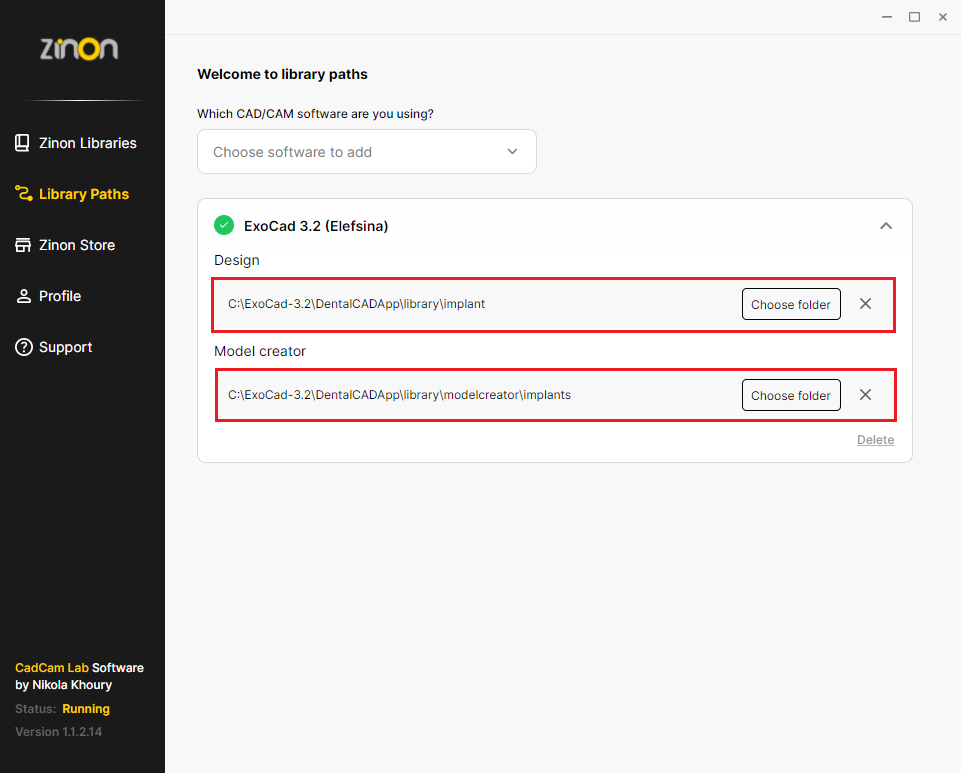
4.3 — Add ExoCad Library Paths
Tell Zinon where to load the libraries by defining the library paths for your software. You can add multiple software versions and set paths for each.

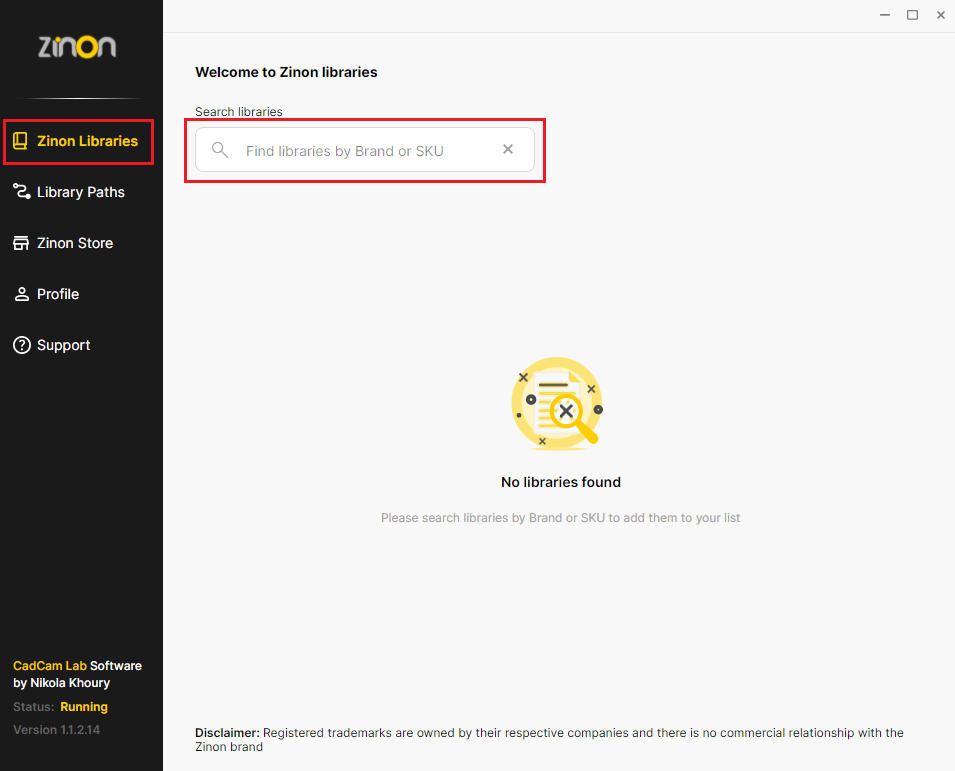
4.4 — Search for a Digital Library
Search by brand name or Scan Body SKU to find the library you need.

4.5 — Enable / Download the Library

4.6 — Use the Library
That's it! Once the download reaches 100% and your library paths are correctly defined, the library will be available in your ExoCad software.